These air fryer duck legs are crispy on the outside, juicy on the inside, and so much easier to make than you might think.
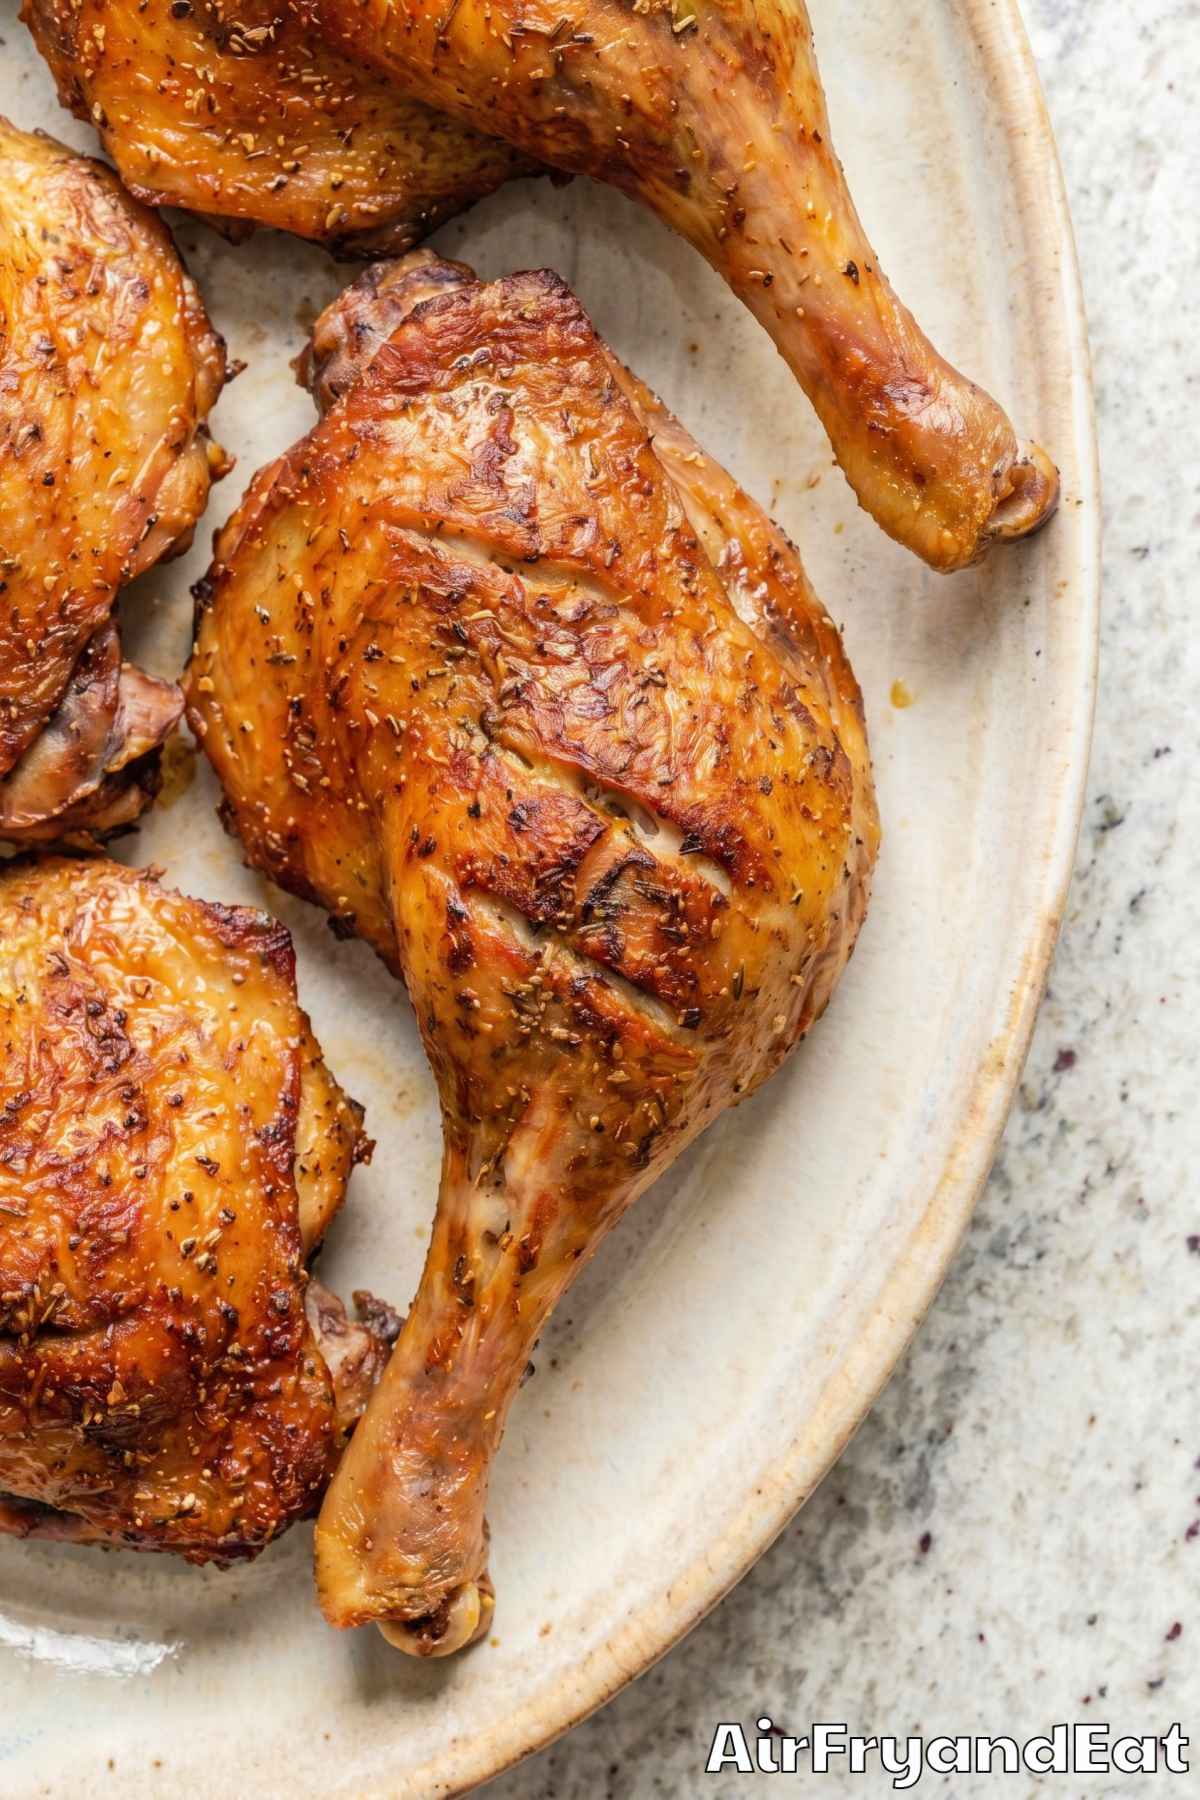
Duck can feel like a fancy, restaurant-only kind of meal. But honestly, with an air fryer, it’s pretty straightforward. You season the legs, pop them in, and the air fryer does most of the heavy lifting.
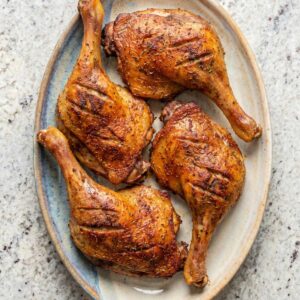
The skin comes out golden and shatteringly crispy – almost like a cracker. And the meat underneath stays tender and full of flavor.
You only need a handful of spices and about 40 minutes of cook time. No deep frying, no oven babysitting, no complicated steps.
If you’ve never cooked duck at home before, this is a great place to start.
Why You’ll Love This Recipe
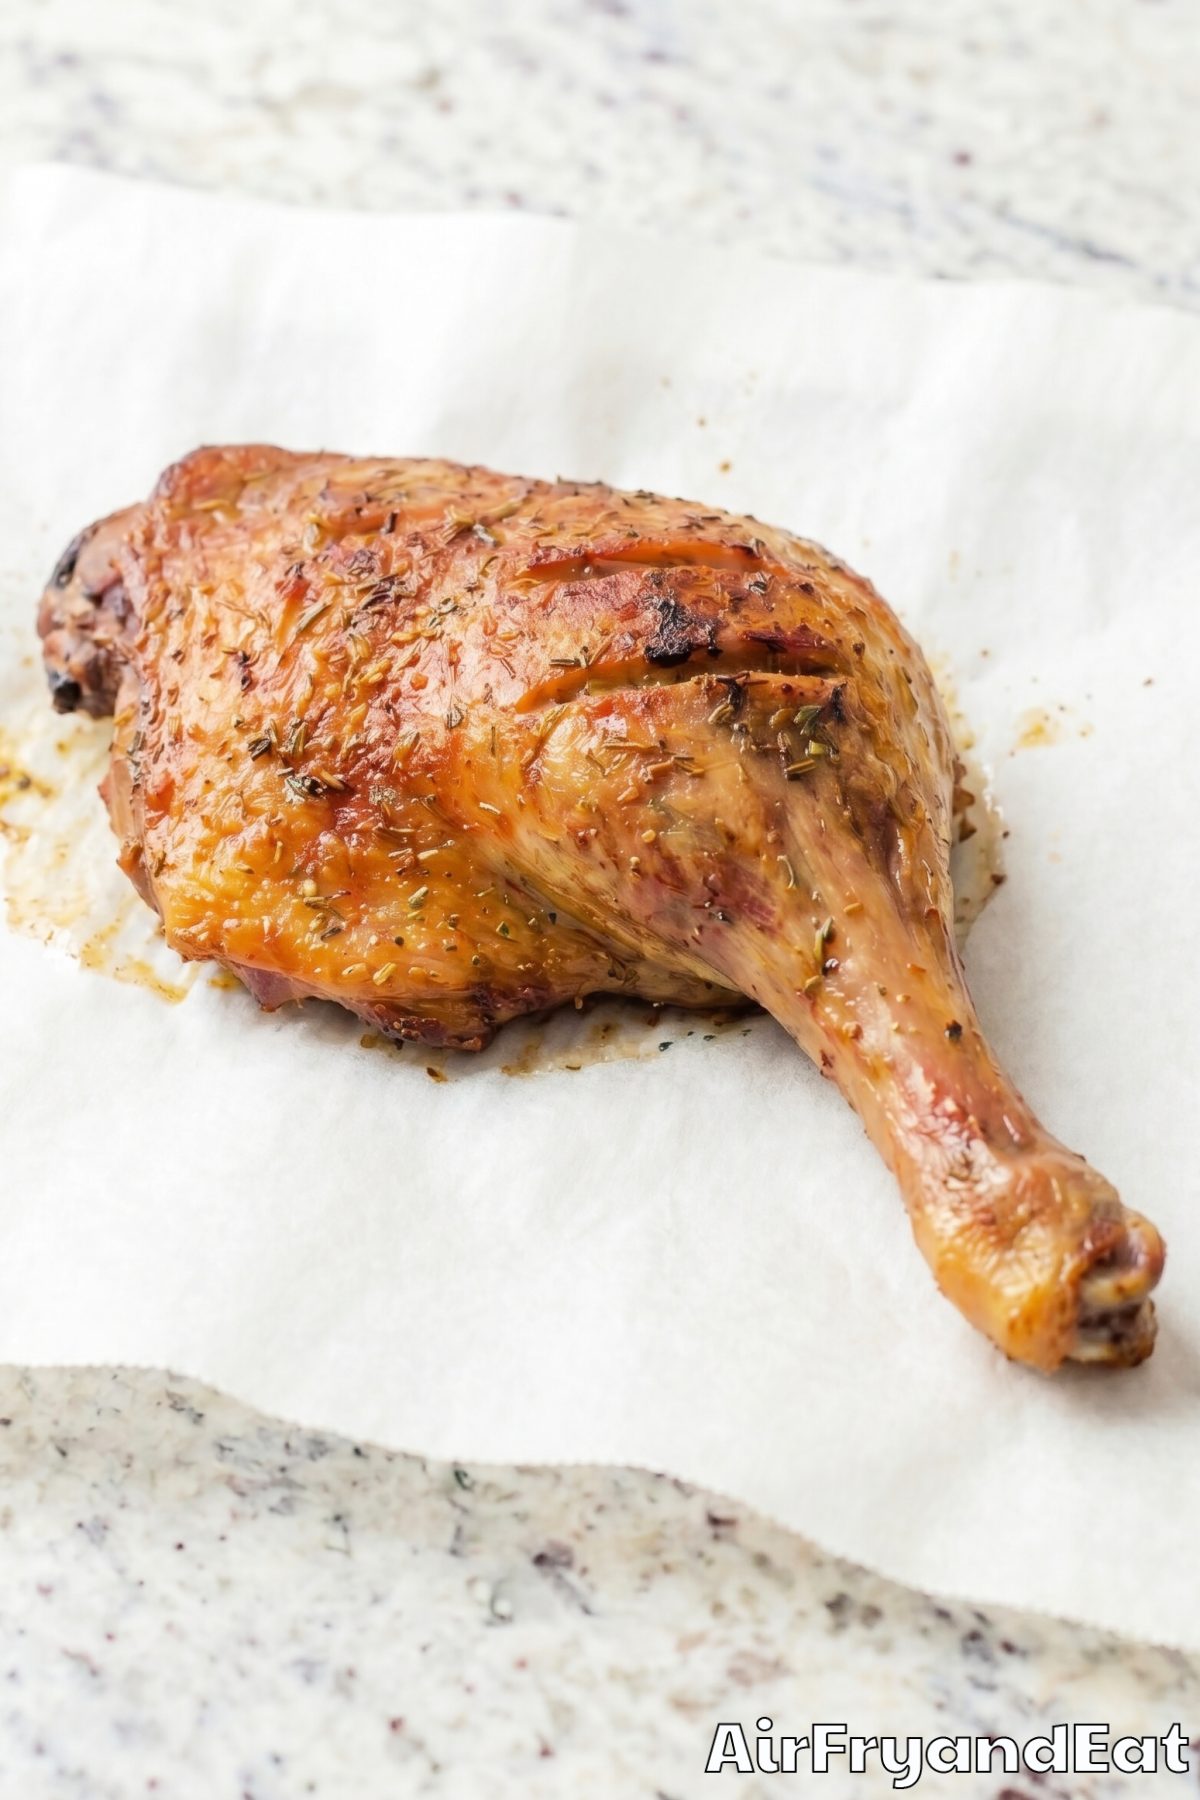
Restaurant-Quality Crispy Skin at Home – The three-stage cooking method gives you shatteringly crispy duck skin that rivals any fancy restaurant.

The Air Fryer Renders Fat Perfectly – Starting skin-side down melts away excess fat so the legs are rich and flavorful without being greasy.
Overnight Seasoning Takes It to Another Level – Letting the spice rub sit on the duck overnight dries out the skin even more for an incredible crunch.
Ingredients
- 4 Duck Leg Quarters (about 2 lb total)
- 1 1/2 tsp Salt
- 1/2 tsp Black Pepper
- 1 tsp Garlic Powder
- 1/2 tsp Smoked Paprika
- 1/2 tsp Dried Thyme
- 1/4 tsp Ground Ginger
- 1 tsp Olive Oil
How To Make
Step 1
Pat the duck leg quarters completely dry with paper towels. This is the most important step for crispy skin, so take your time and make sure there is no moisture left on the surface.
Using a sharp knife, score the skin in several places through the fat layer but not into the meat. This helps the fat render evenly during cooking.
Step 2
In a small bowl, mix together the salt, black pepper, garlic powder, smoked paprika, dried thyme, and ground ginger. Rub the olive oil all over the duck legs, then season them generously on all sides with the spice mixture. For the best results, season the legs and let them sit uncovered in the refrigerator for at least 1 hour or up to overnight.
Step 3
Preheat the air fryer to 350 degrees F. Place the duck legs in the basket skin-side down. Make sure they are not overlapping so air can circulate freely.
Step 4
Cook for 15 minutes skin-side down. This initial phase renders out much of the fat. Carefully drain any excess fat from the drip tray if it accumulates.
Step 5
Flip the duck legs skin-side up. Continue cooking at 350 degrees F for another 15 minutes.
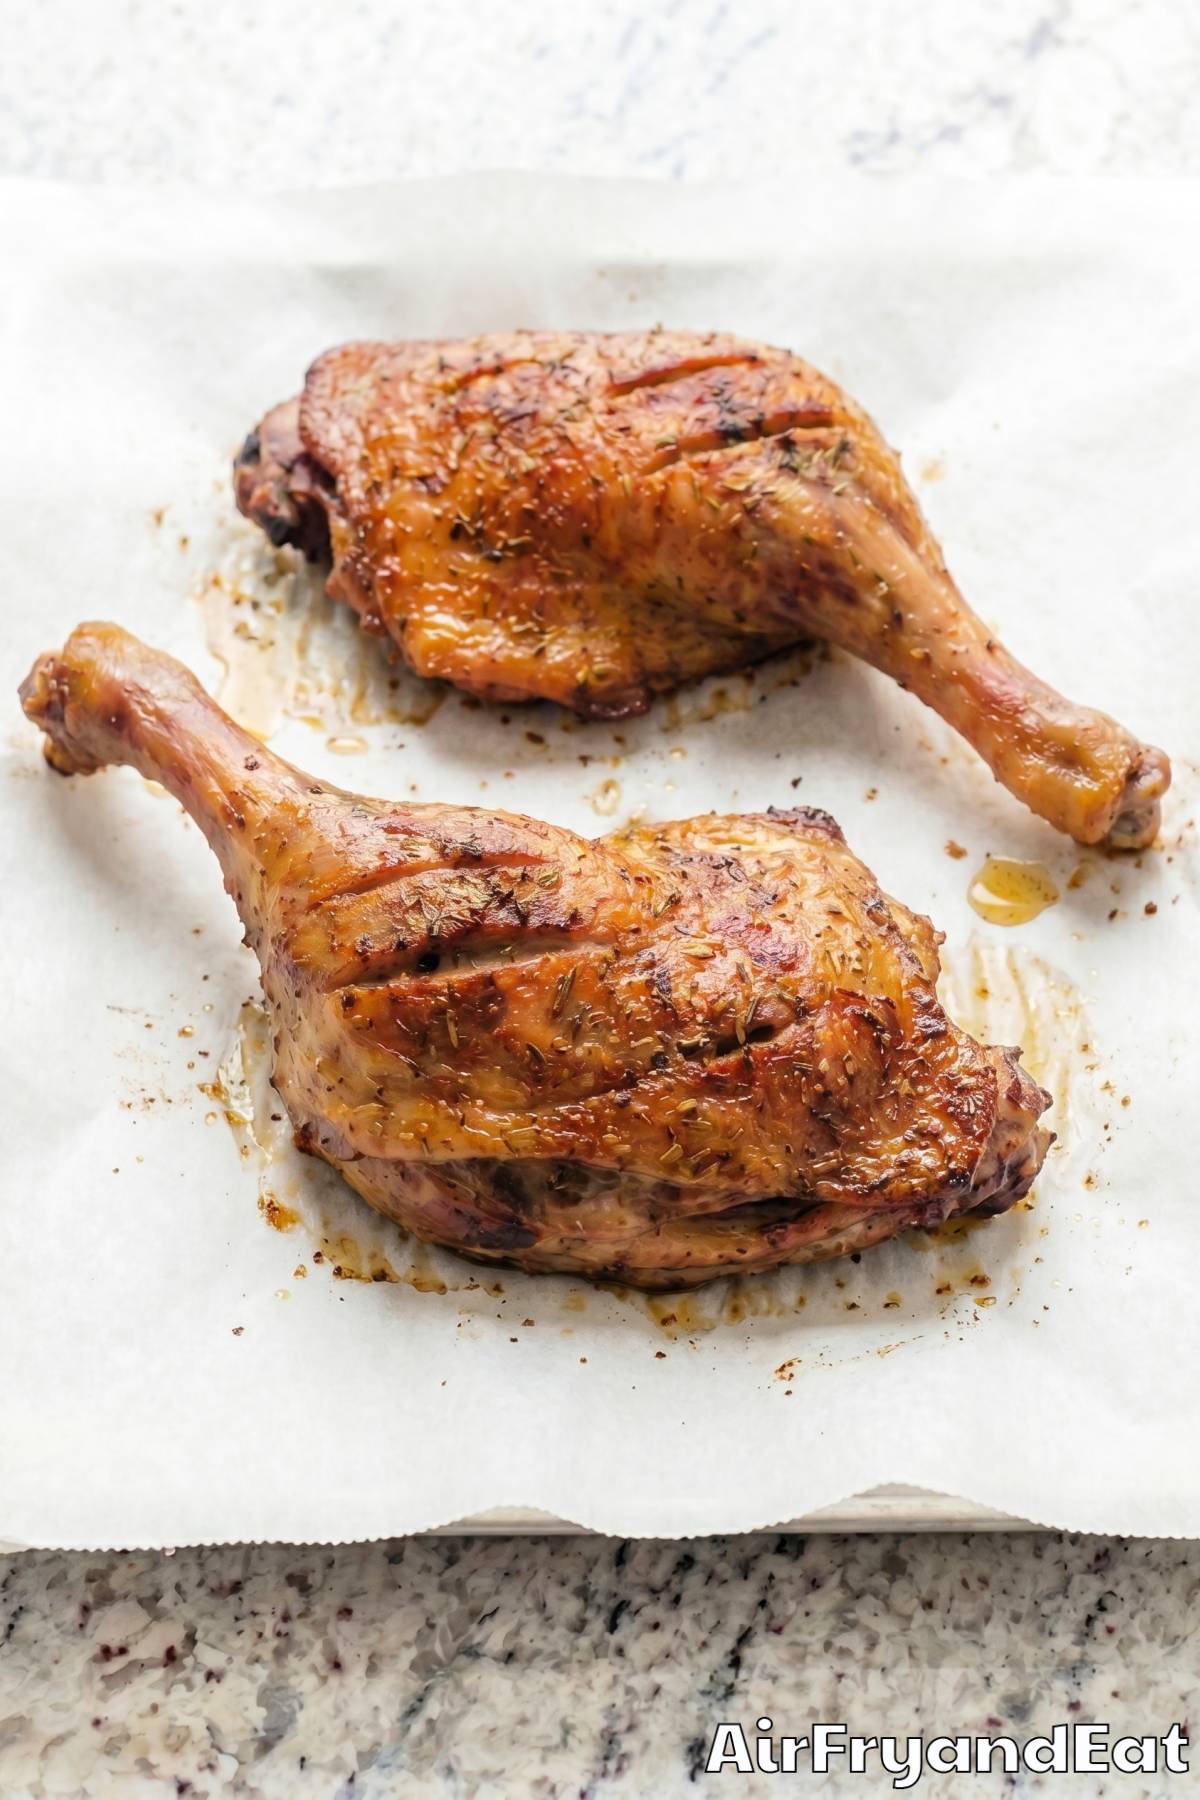
Step 6
Increase the temperature to 400 degrees F and cook for a final 5 to 8 minutes until the skin is deeply golden, shatteringly crispy, and the internal temperature at the thickest part of the thigh reads at least 175 degrees F.
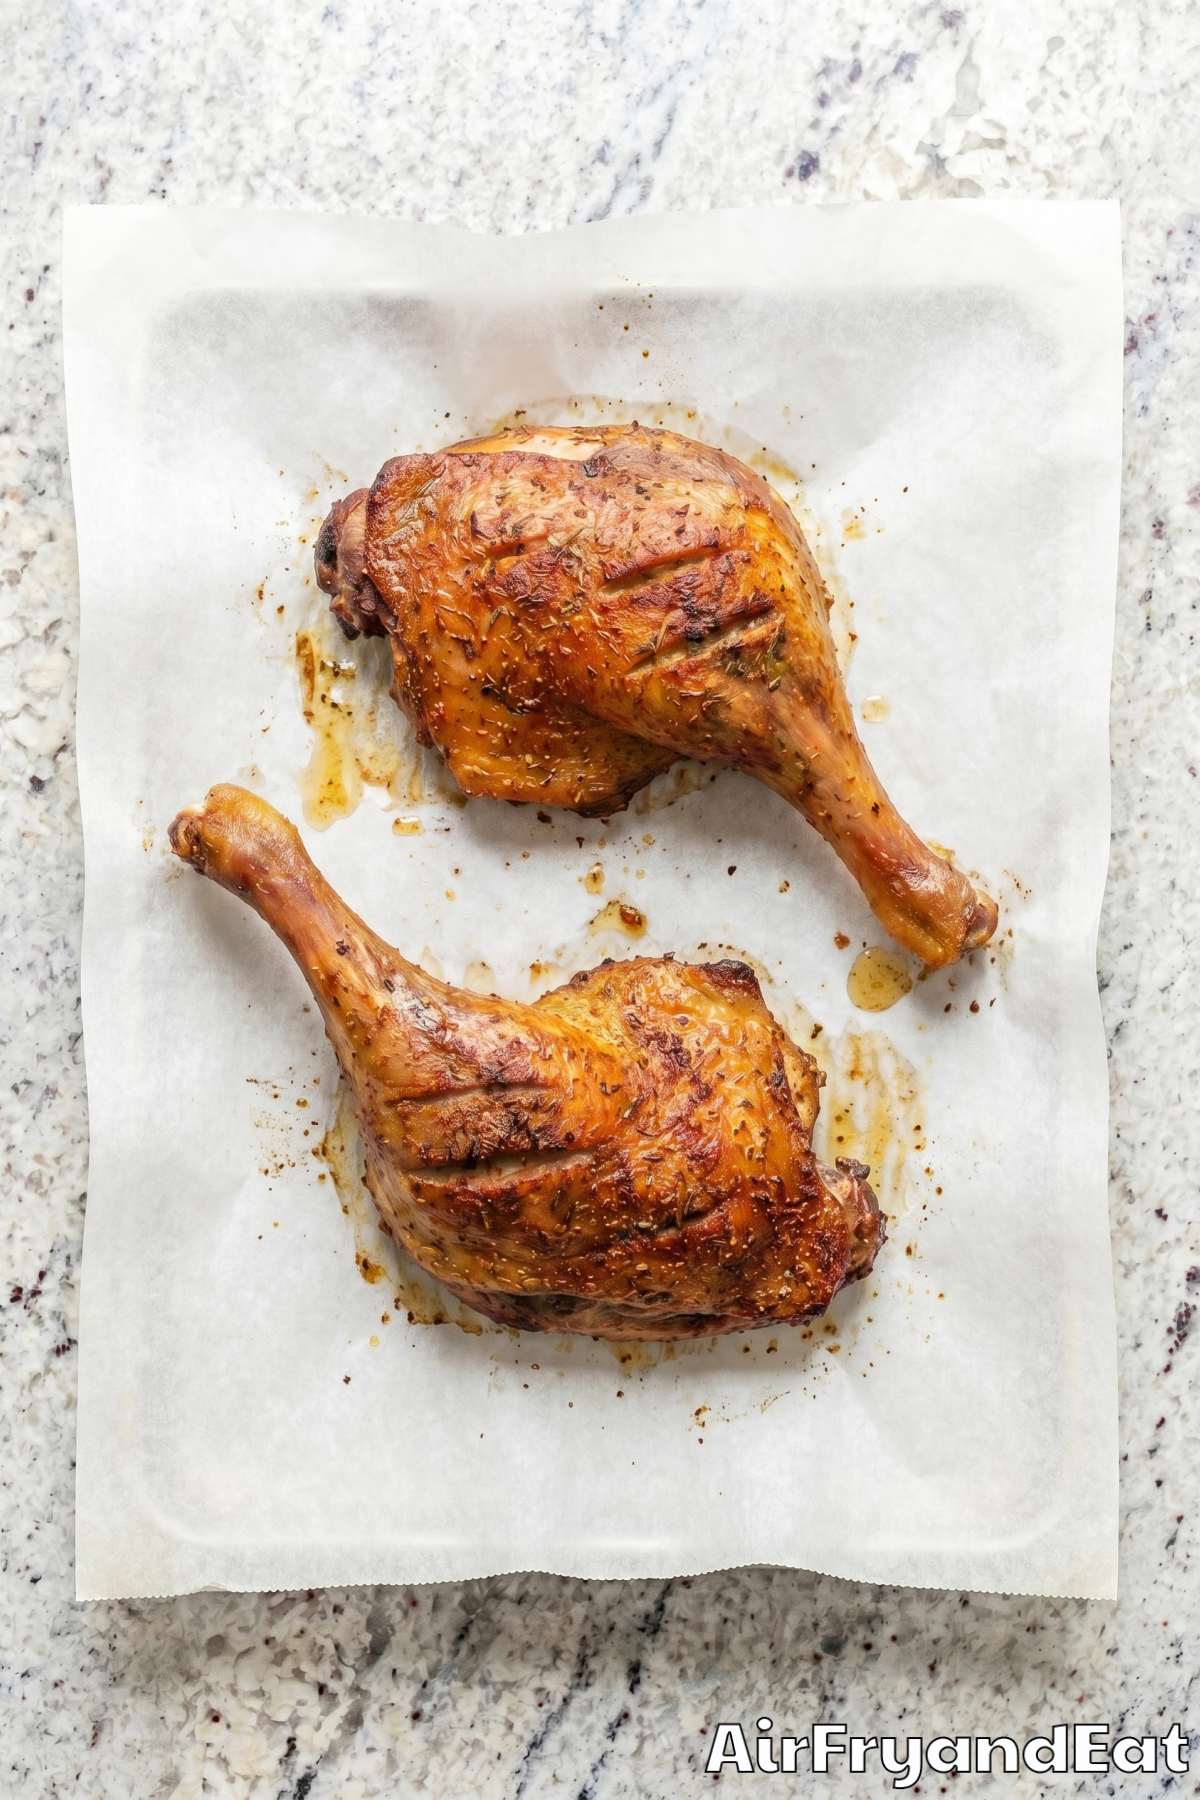
Step 7
Transfer the duck legs to a plate and let them rest for 5 minutes before serving. The skin should crackle when you press it. Serve with roasted vegetables, a fresh green salad, or creamy mashed potatoes.
Tips
Score the Skin the Right Way
When you score the duck skin, make a crosshatch pattern with cuts about half an inch apart. You want to cut through the thick fat layer but stop before you hit the meat underneath.
If you cut too shallow, the fat won’t render out properly and you’ll end up with a thick, chewy layer of fat under the skin. If you cut too deep into the meat, the juices will leak out and the meat will dry out.
A sharp knife makes this a lot easier. If your knife is dull, the skin will tear instead of slicing cleanly, and that messes with how evenly the fat renders.
Dry Brine Overnight if You Can
The recipe says you can season the legs and refrigerate them for at least 1 hour, but if you have the time, go the full overnight. The salt draws moisture out of the skin while it sits uncovered in the fridge, and that dry surface is what gives you truly crispy skin in the air fryer.
Place the seasoned legs on a wire rack set over a plate or tray so air circulates around all sides. If you just lay them flat on a plate, the bottom side stays damp and won’t crisp up as well.
Even a few hours makes a noticeable difference compared to just one hour, so plan ahead if you can.
Don’t Skip Draining the Fat
Duck legs release a lot of fat during cooking – way more than chicken. If that fat pools in the bottom of your air fryer basket, the skin on the bottom side basically starts frying in grease instead of crisping from hot air.
After the first 15 minutes skin-side down, pull the basket out and carefully pour off the rendered fat into a heat-safe bowl. If your air fryer model has a drip tray, check that too.
Save that duck fat. It’s liquid gold for roasting potatoes or cooking vegetables. Just strain it through a fine mesh strainer and store it in the fridge for weeks.
Related Recipes
- Air Fryer Crispy Chicken Leg Quarters
- Air Fryer Lemon Herb Roasted Chicken Thighs
- Air Fryer Honey Garlic Chicken Thighs
- Air Fryer Whole Roasted Chicken
- Air Fryer Chicken Wings
Frequently Asked Questions
Why do I need to score the duck skin before air frying?
Scoring the skin lets the thick layer of fat underneath escape and render out while the duck cooks. Without those cuts, the fat stays trapped under the skin and you end up with a rubbery, chewy texture instead of something crispy.
Just make sure you only cut through the fat and not into the actual meat. A few shallow slashes in a crosshatch pattern works perfectly.
Air Fryer Duck Legs
- 4 Duck Leg Quarters (about 2 lb total)
- 1 1/2 tsp Salt
- 1/2 tsp Black Pepper
- 1 tsp Garlic Powder
- 1/2 tsp Smoked Paprika
- 1/2 tsp Dried Thyme
- 1/4 tsp Ground Ginger
- 1 tsp Olive Oil
- Pat the duck leg quarters completely dry with paper towels. This is the most important step for crispy skin, so take your time and make sure there is no moisture left on the surface. Using a sharp knife, score the skin in several places through the fat layer but not into the meat. This helps the fat render evenly during cooking.
- In a small bowl, mix together the salt, black pepper, garlic powder, smoked paprika, dried thyme, and ground ginger. Rub the olive oil all over the duck legs, then season them generously on all sides with the spice mixture. For the best results, season the legs and let them sit uncovered in the refrigerator for at least 1 hour or up to overnight.
- Preheat the air fryer to 350 degrees F. Place the duck legs in the basket skin-side down. Make sure they are not overlapping so air can circulate freely.
- Cook for 15 minutes skin-side down. This initial phase renders out much of the fat. Carefully drain any excess fat from the drip tray if it accumulates.
- Flip the duck legs skin-side up. Continue cooking at 350 degrees F for another 15 minutes.
- Increase the temperature to 400 degrees F and cook for a final 5 to 8 minutes until the skin is deeply golden, shatteringly crispy, and the internal temperature at the thickest part of the thigh reads at least 175 degrees F.
- Transfer the duck legs to a plate and let them rest for 5 minutes before serving. The skin should crackle when you press it. Serve with roasted vegetables, a fresh green salad, or creamy mashed potatoes.